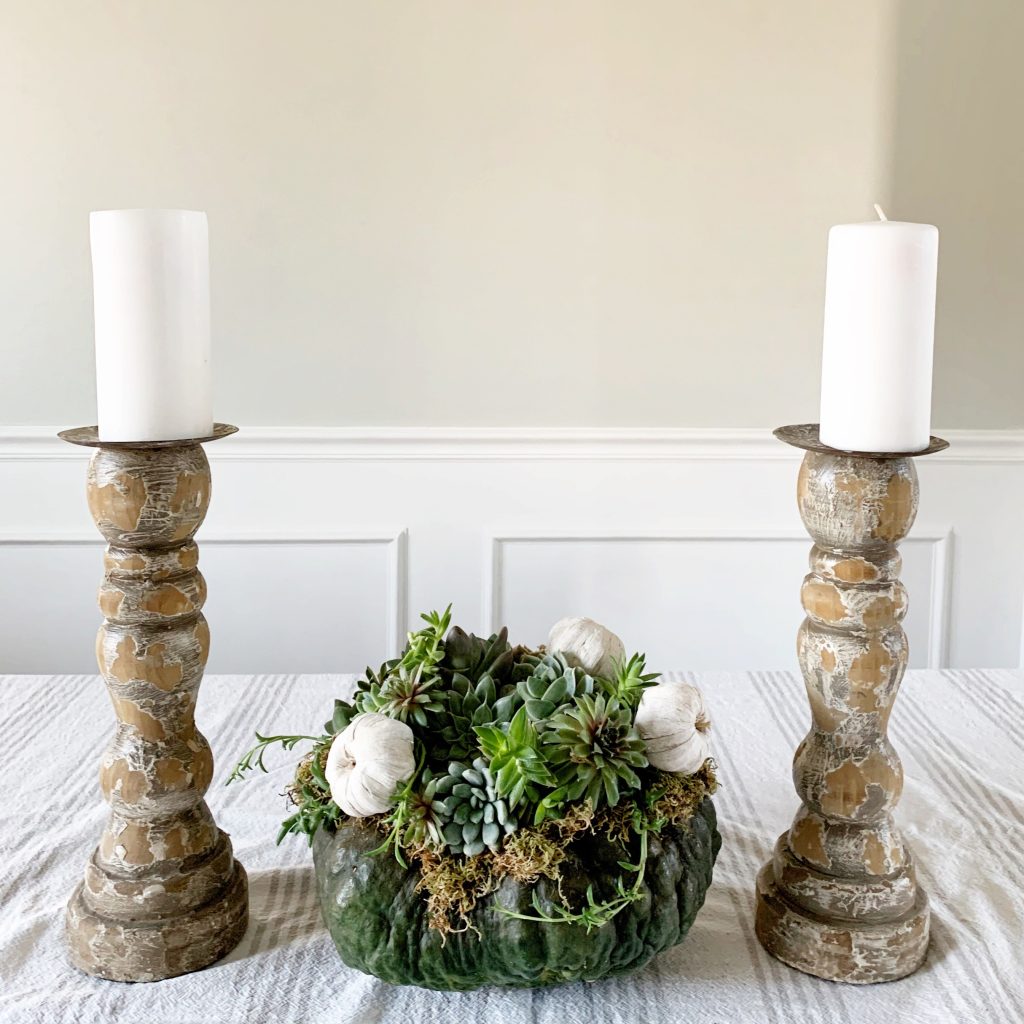
How to Make a Pumpkin Succulent Centerpiece

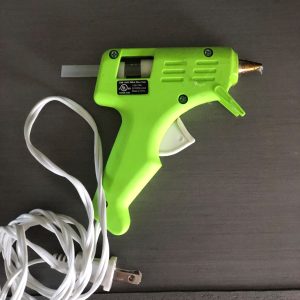
Do you have a hot glue gun and 30 minutes? If so, check out how simple this beautiful pumpkin succulent centerpiece is to make. Your guests will definitely be impressed!
What You Need:


Select a pumpkin; there are so many color options and textures, have fun with this step! Try to choose a pumpkin that has somewaht of a flat top, this will make it easier to adhere the succulents. Saw off the stem and you are ready to start!

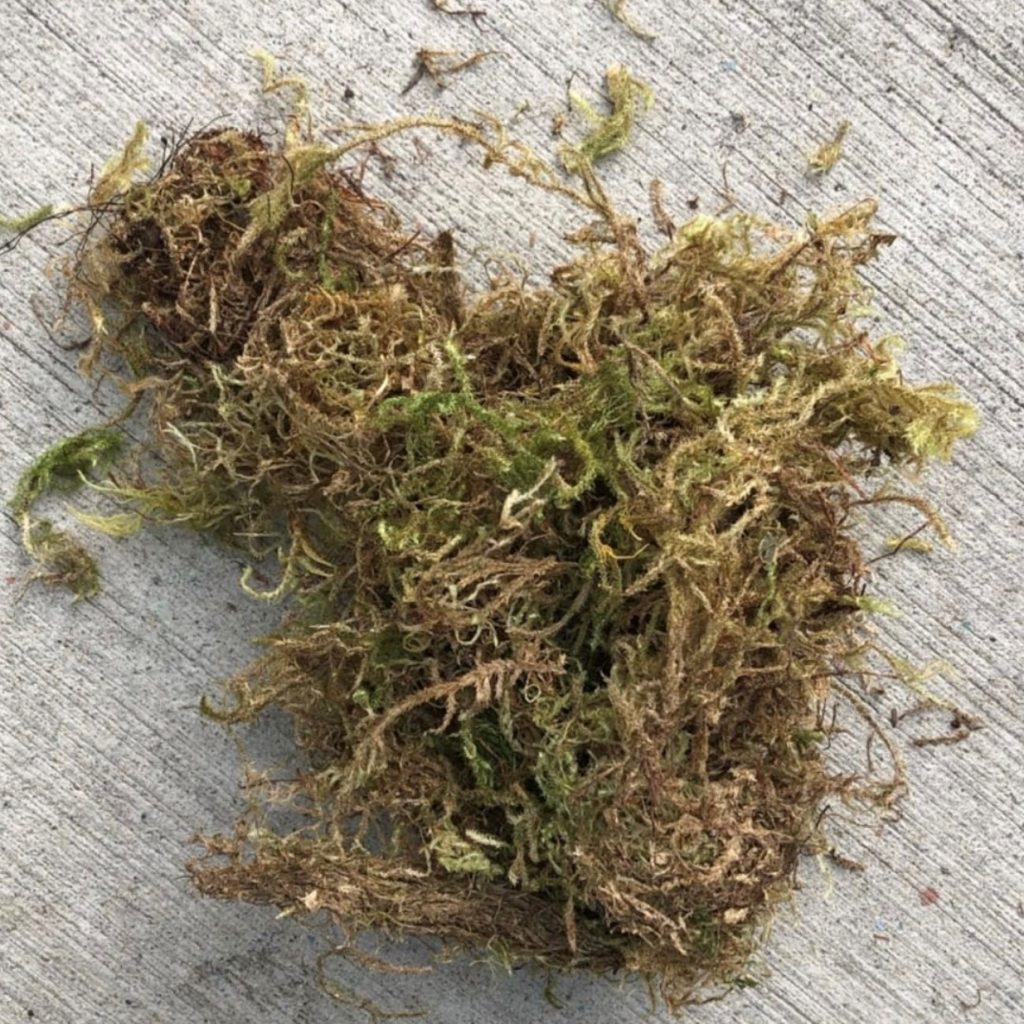
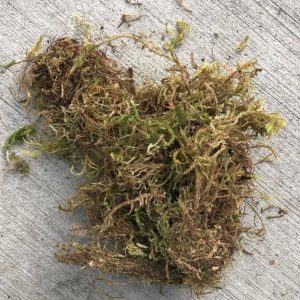
Once you have your pumpkin all ready, apply hot glue to the top of your pumpkin. Quickly place the moss on the hot glue. The moss will provide a good base for the succulents and add some great texture to your centerpiece.

For this DIY pumpkin centerpiece project, you will want to choose succulents in a variety of sizes and shapes. Depending on the size of your pumpkin, a good guess of how many succulents you will need would be about 10-12. Remove succulents from their packaging and remove dirt to expose roots of the succulent. Apply hot glue directly to the succulent root and then place directly onto the moss, placing larger succulents in the middle of the pumpkin
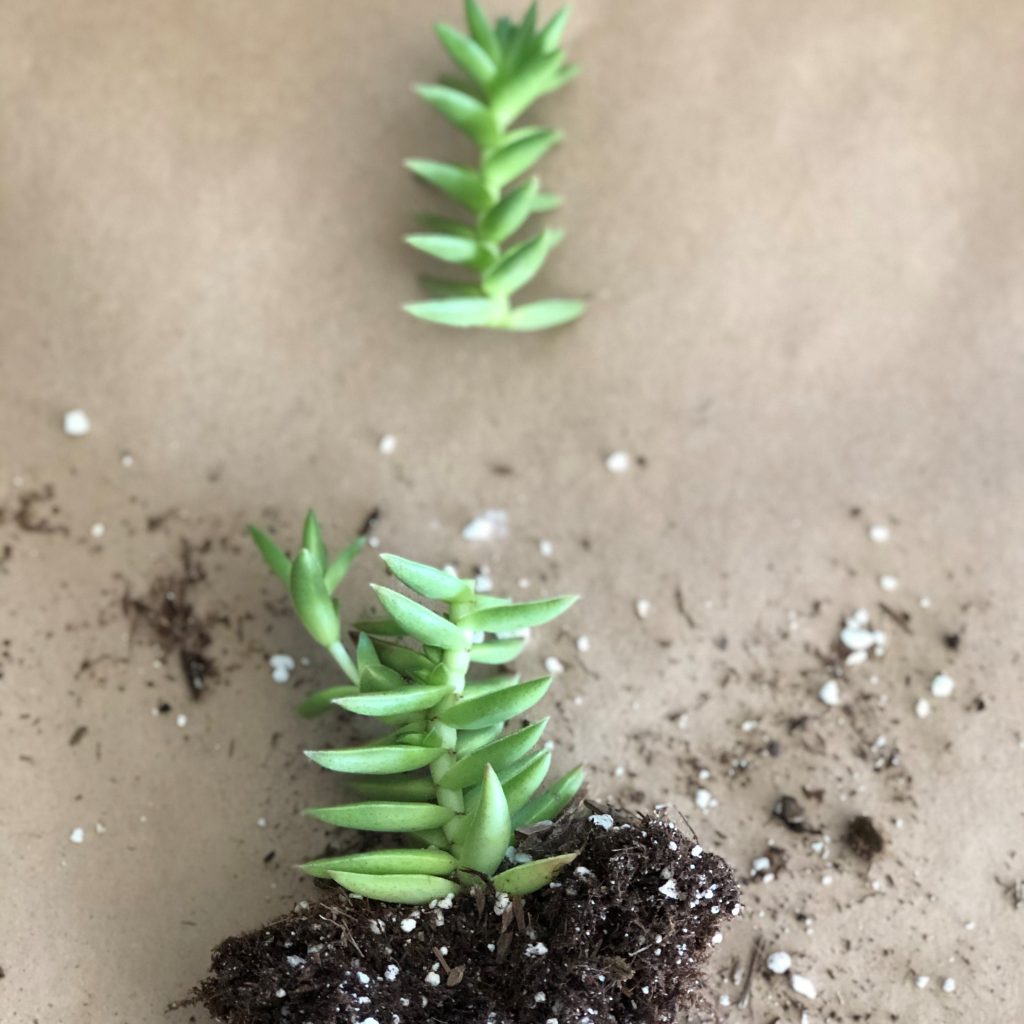
To create texture & depth, cut taller succulents in half or thirds. Apply glue to the bottom of the cut succulent and then place directly onto the moss.
Working from the inside out, continue to place each succulent onto the moss until the top of the pumpkin is covered and you are happy with the depth and texture of the succulents. Grab a water bottle and spritz the succulents with water. Do this every third day and your pumpkin succulent centerpiece may last a couple of months!